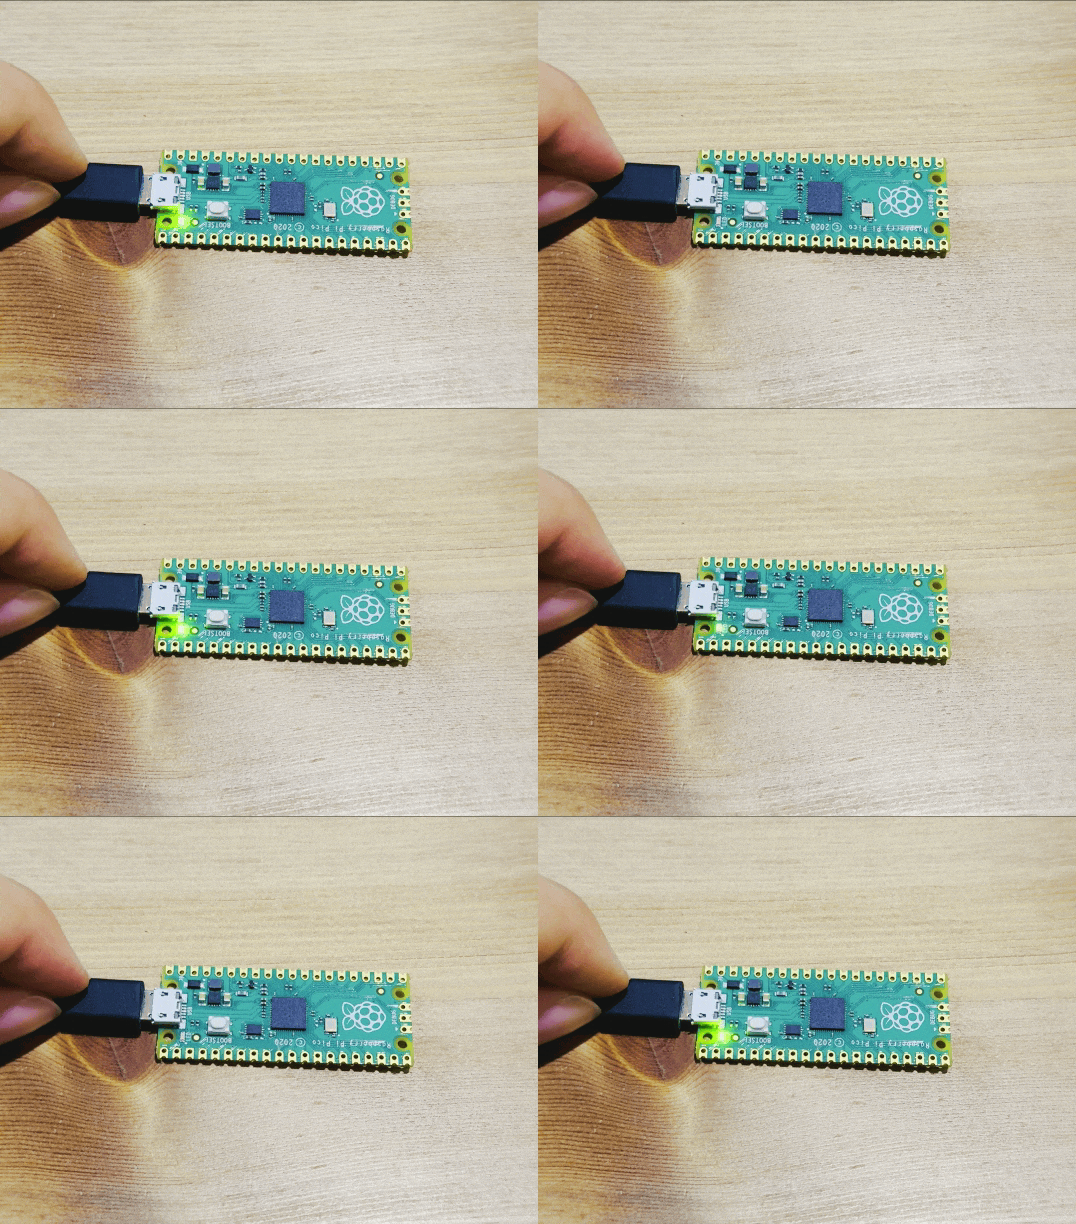
Rustventures in Picoland (Pt 1 - Blink)
Let's have some physical computing by programming Raspberry Pi Pico using Rust.. 'cause why not?

CAUTION: I'm definitely not an embedded engineer, just a maker having fun. I might say stuff that is not fully correct.
Preparation
To install Rust, you'll want to head to https://www.rust-lang.org.
You'll also want to ensure you we have the thumbv6m-none-eabi target installed, since this is the one that matches the architecture used by the Raspberry Pi Pico (in this post I'll be covering the first Pico, which has a RP2040 chip - not the Pico 2, hosting a RP2350).
rustup self update
rustup update stable
rustup target add thumbv6m-none-eabi
Then we'll install elf2uf2-rs, which helps us create UF2 images for the RP2040 USB Bootloader:
cargo install --locked elf2uf2-rs
Note that there are great docs on https://github.com/rp-rs/rp-hal-boards/tree/main/boards/rp-pico, and https://github.com/rp-rs/rp-hal-boards/tree/main?tab=readme-ov-file#loading-a-uf2-over-usb, so anytime you're lost I'd recommend to follow them!
Just blink the flipping LED
The main idea for Part 1 of this series is the following trivial code:
let mut led_pin = pins.led.into_push_pull_output();
loop {
    led_pin.set_high().unwrap();
    delay.delay_ms(500);
    led_pin.set_low().unwrap();
    delay.delay_ms(500);
}
But to get there, we'll need a few more things. First, let's create a project:
cargo new --bin pico-blinky-101
cd pico-blinky-101
I've used the rp_pico crate because it has a few constants that make it easy to work with, compared to the more generic rp_hal.
Before we looking at the main.rs, note that there's a few things that require special attention:
- The
.cargo/config.tomlis setup to setthumbv6m-none-eabias our default target - The
memory.x, which describes the memory layout of the RP2040
I have a repository hosting all that is required to generate a working .uf2 here on Codeberg.
There you'll find plenty of comments on what does what (to the best of my knowledge!).
After compiling the blinky-101, we'll have this:
$ cargo build --release
$ file target/thumbv6m-none-eabi/release/pico-blinky-101
target/thumbv6m-none-eabi/release/pico-blinky-101: ELF 32-bit LSB executable, ARM, EABI5 version 1 (SYSV), statically linked, not stripped
In theory nothing stops you from manually running elf2uf2-rs to generate the .uf2 file needed for the Pico:
$ elf2uf2-rs target/thumbv6m-none-eabi/release/pico-blinky-101
$ file target/thumbv6m-none-eabi/release/pico-blinky-101.uf2
target/thumbv6m-none-eabi/release/pico-blinky-101.uf2: UF2 firmware image, family Raspberry Pi RP2040, address 0x10000000, 20 total blocks
However in practice, there's no need to do it manually if you've set the cargo runner.
This can be done by adding this entry in the .cargo/config.toml of your crate:
[target.thumbv6m-none-eabi]
runner = "elf2uf2-rs -d"
This will let cargo run use elf2uf2-rs directly.
But of course, before we can run flash the program on the Pi, we'll need to connect the Pi.
The TL;DR here is that you'll need to
[..] Boot your RP2040 into "USB Bootloader mode", typically by rebooting whilst holding some kind of "Boot Select" button. On Linux, you will also need to 'mount' the device, like you would a USB Thumb Drive.
In my case, I just pressed the white BOOTSEL button while plugging the RPi into my PC via a micro-usb cable. On PopOS the drive got automounted, on other distros you might need to mount manually.
And yay! I flashed my first Pico:
$ cargo run --release
    Finished `release` profile [optimized] target(s) in 0.05s
     Running `elf2uf2-rs -d target/thumbv6m-none-eabi/release/pico-blinky-101`
Found pico uf2 disk /media/vv/RPI-RP2
Transfering program to pico
10.00 KB / 10.00 KB [===========================================================================================] 100.00 % 48.63 KB/s
Look at that beautiful LED staring into your soul.
