Fun with the new RPI HQ Camera
Preface..
Last April, while probably half of the world was locked down in their rooms, the Raspberry PI team delighted us with a new toy. I guess they realized we would have a lot more free time in our weekends! 😄
I quickly glanced at it and the specs but I didn't want to be a beta-tester so I decided to wait for people to start playing with it before going into furious DIY purchase mode.
Fast forward to now - November 2020. We're facing the second UK lockdown, and still filling our lives with plenty of zoom/google meet/skype/facetime calls. I decided to improve my virtual appearance and I started to look online for a webcam replacement. I'm currently using my iPhone - but since it streams the video via wifi the image quality - despite the amazing camera sensor - isn't top notch due to the huge compression.
I didn't take me too after scrolling through Amazon to realize that the webcam market right now is crazy: you won't find anything good for less than 90£! I remembered though that a while I stumbled upon this blog post documenting how to configure the Raspberry Pi as a UVC gadget so that you can just plug the RPI into a USB port and have it recognized as a normal webcam. I accepted this side quest and entered the DIY rabbit hole once again..
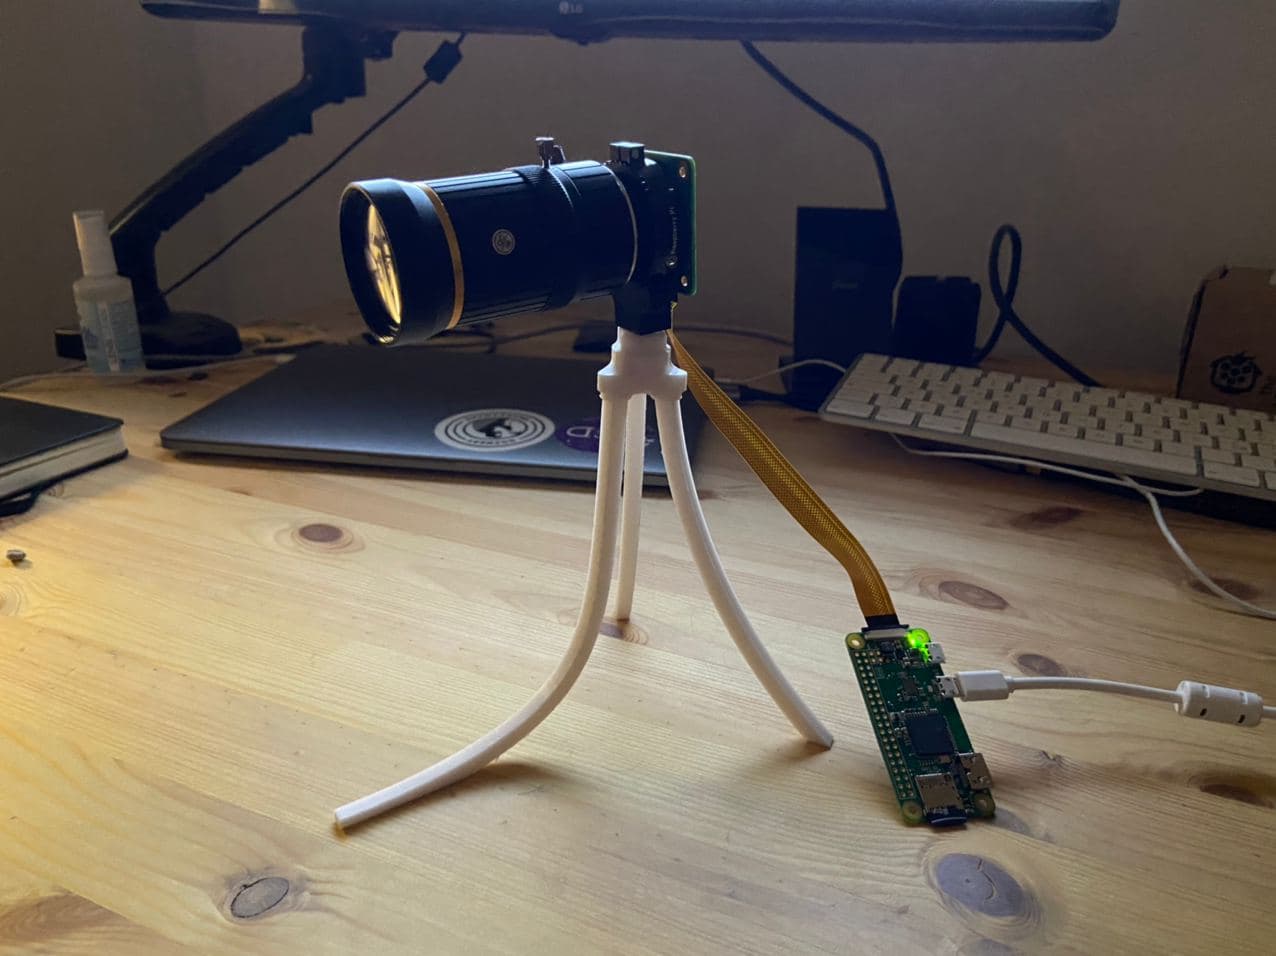
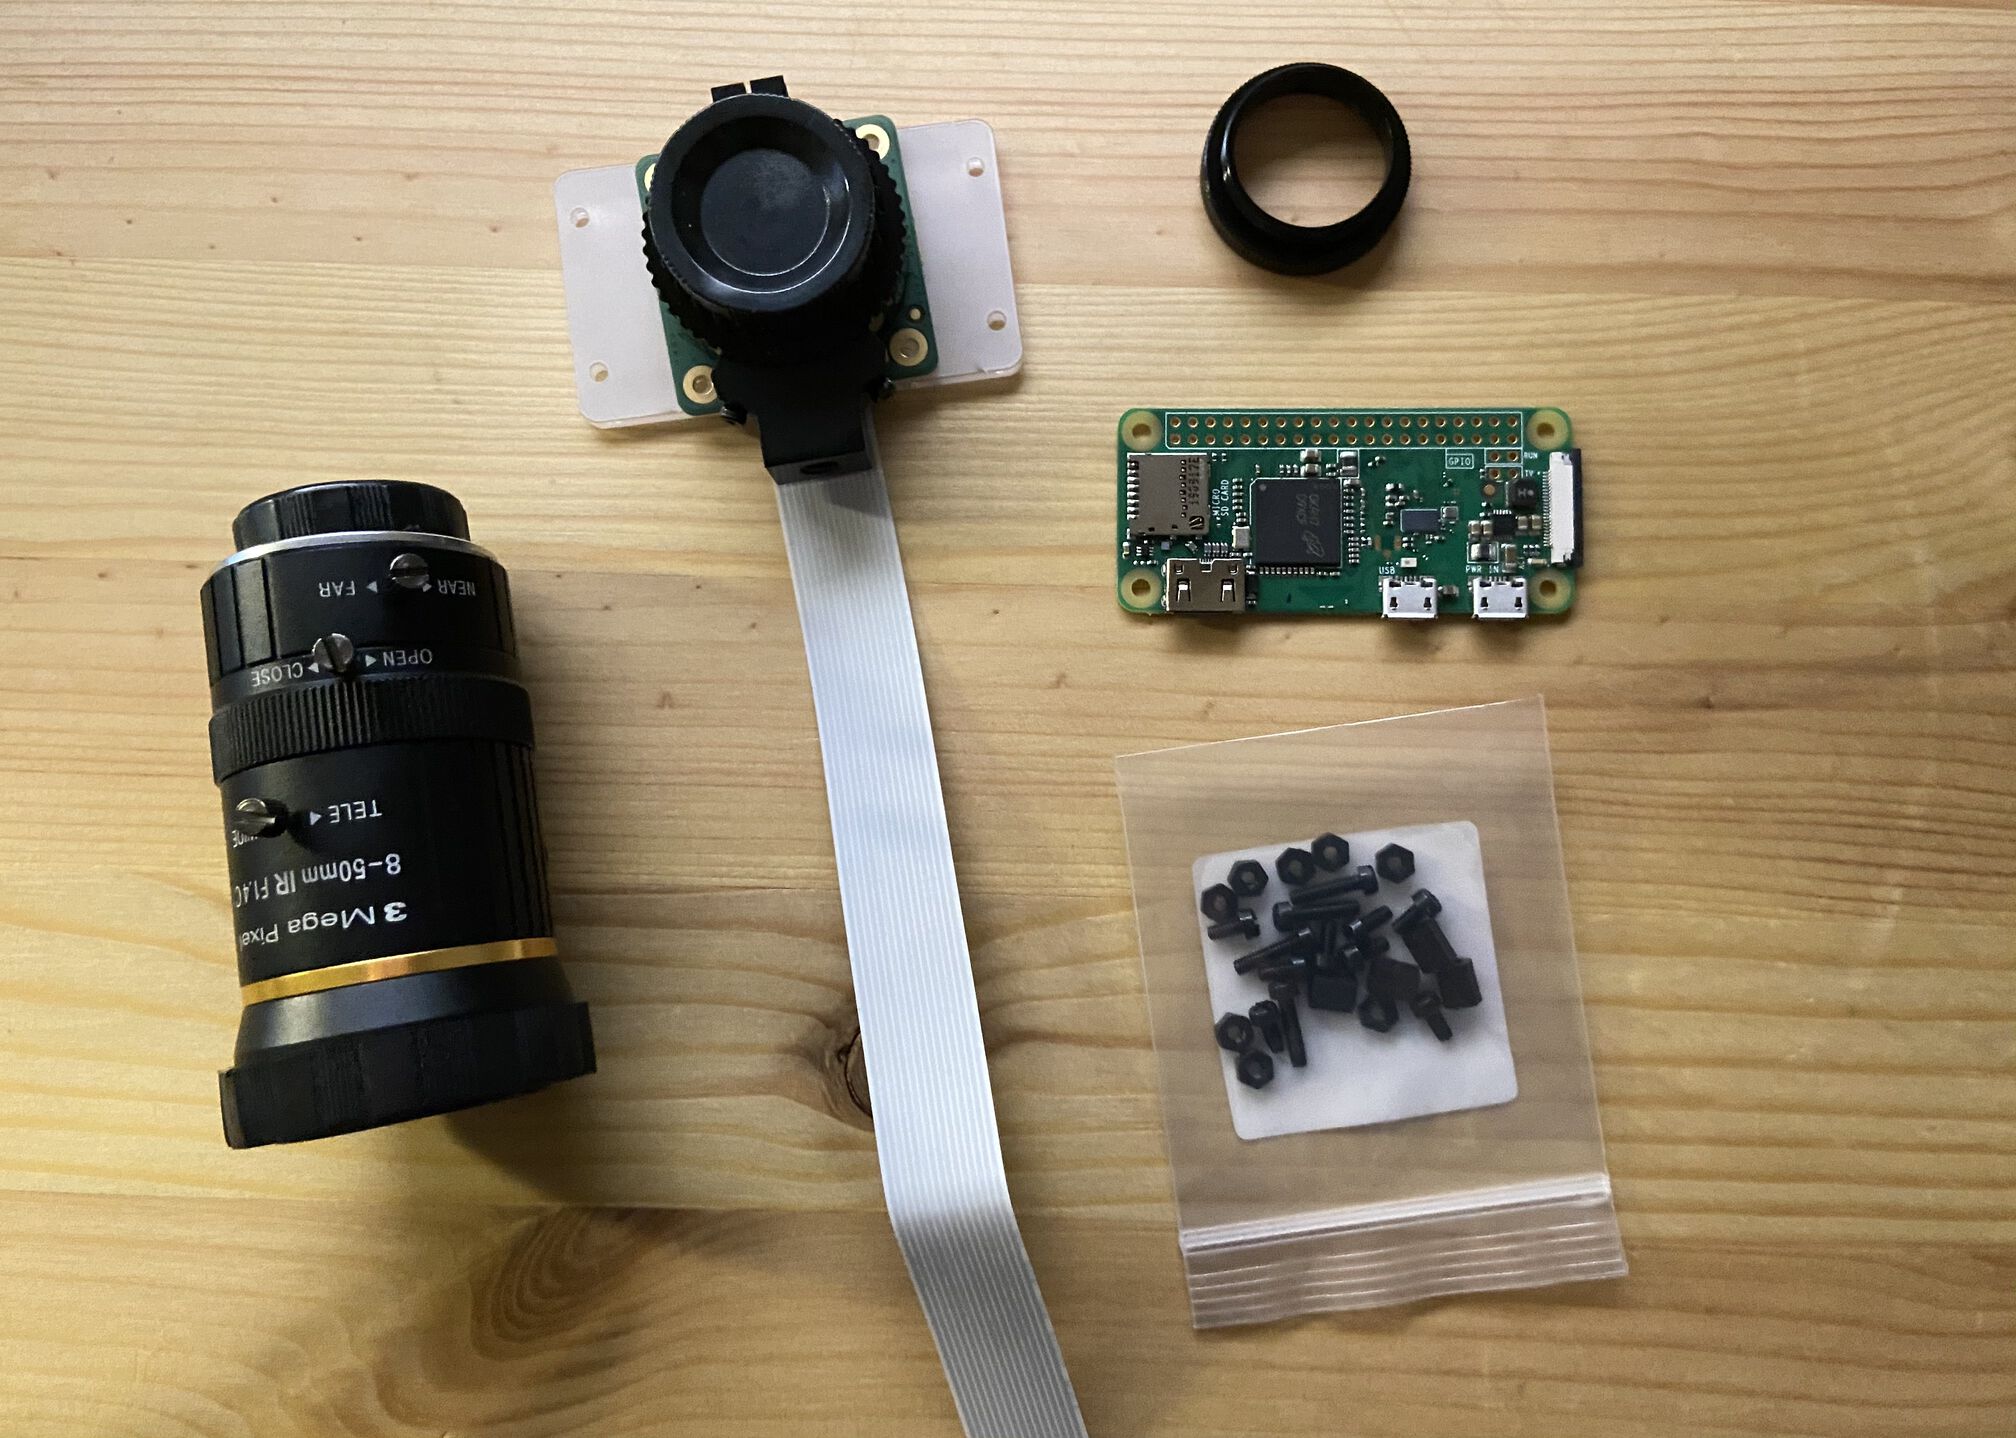
The High Quality camera, a RPI Zero W, a 8-50mm zoom lens and the additional mount
RPI High Quality Camera Module: Overview
Here's a quick recap since you can find the full specs on the official website:
- Price: 50£ in UK, ~55€ in the EU, 50$ in the USA
- Images Resolution: 12.3-megapixel (4056 x 3040)
- Videos: 1080p at 30 fps, 720p at 60fps
- Sensor size: 6.287 x 4.712mm, 12.5x crop factor (check here why it matters)
- Swappable lenses (even DSLR ones!)
- Back focus: adjustable via a screw (12.5 mm–22.4 mm)
- Tripod mount: 1/4"-20 (the classic one)
Given these specs, and my love for thinkering, I thought that I could build decent webcam for around 100£! In fact, my purchase included a
- Raspberry Pi Zero W: 9.8£
- 16GB SD Card: 7£
- C-Mount 8-50mm Zoom Lens: 36£
- Raspberry Pi High Quality Camera Module: 49.50£
- Ribbon cable adapter for the Zero: 4£
Total: 106,30£
You can get away with a bit less (95.3£) if you go with the 6mm CCTV lens instead. Currently, a Logitech C920 HD Pro retails for 135£ on Amazon UK so the economic side isn't too bad.
Optional:
- Mounting Plate: 3£
Of course, the real deal here is what this combination offers in terms of thinkering/hacking possibilities - I honestly never care about spending 30-40£ more if I can I get to support such an awesome idea and have some fun with linux and python 🤓
RPI High Quality Camera Module: Installation
It's not my intention to do a full tutorial on how to use it, since there's plenty of them around the internet.
I'll just recap the main steps since I found a couple of gotcha's that are not really well documented.
Hardware
0 - Turn off the Pi
1 - Install the camera using the ribbon cable. If you're using a RPI Zero, like me, you'll need to buy a separate cable since the spacing of the pins on the RPI Zero is smaller than the one of the default ribbon cable that comes with the camera.
2 - Be sure that the metallic pins on the ribbon cable are facing the pi. Generally most cables have their pins covered on one side so there's only one side which will make contact
3 - Install the lens. If you're using a C-mount lens like the one that I purchased, you should use the C-CS adapter included in the HQ Camera package. This will move the lens focus to a point where it's actually usable. You can refer to this guide for more info: camera-guide-pdf

Software
0 - Make an image of the latest Raspberry Pi OS on the SD card.
You can use the official imaging utility
1 - Connect to your raspberry pi via ssh. You don't need to use an ad-hoc monitor just for the pi, unless you want to. You can enable the ssh via usb to save yourself some time. Once again - the internet is filled with tutorials
2 - Enable the camera via sudo raspi-config -> Interfaces -> Camera
3 - Update all the things.. which means
$ rpi-update
$ sudo apt-get update
$ sudo apt-get full-update
This is one of the gotchas which I didn't find super well documented. In my case, the camera was recognized only after I did a full update.
Reboot! sudo reboot
4 - Once the pi has rebooted, you can do a vcgencmd get_camera to see wheter the pi is detecting the camera or not.
If it is recognized, great!
If isn't, then verify that the cable is plugged correctly, both on the camera side and on the pi side: that's a common mistake. If nothing works, hit me (with an email) or search Google like a desperate!
5 - Try raspistill -v -o my_image.jpg to take your first image!
From here, your imagination is the only limit.
You can start making timelapses, videos (raspivid) or write your own python scripts to make it do what you want.
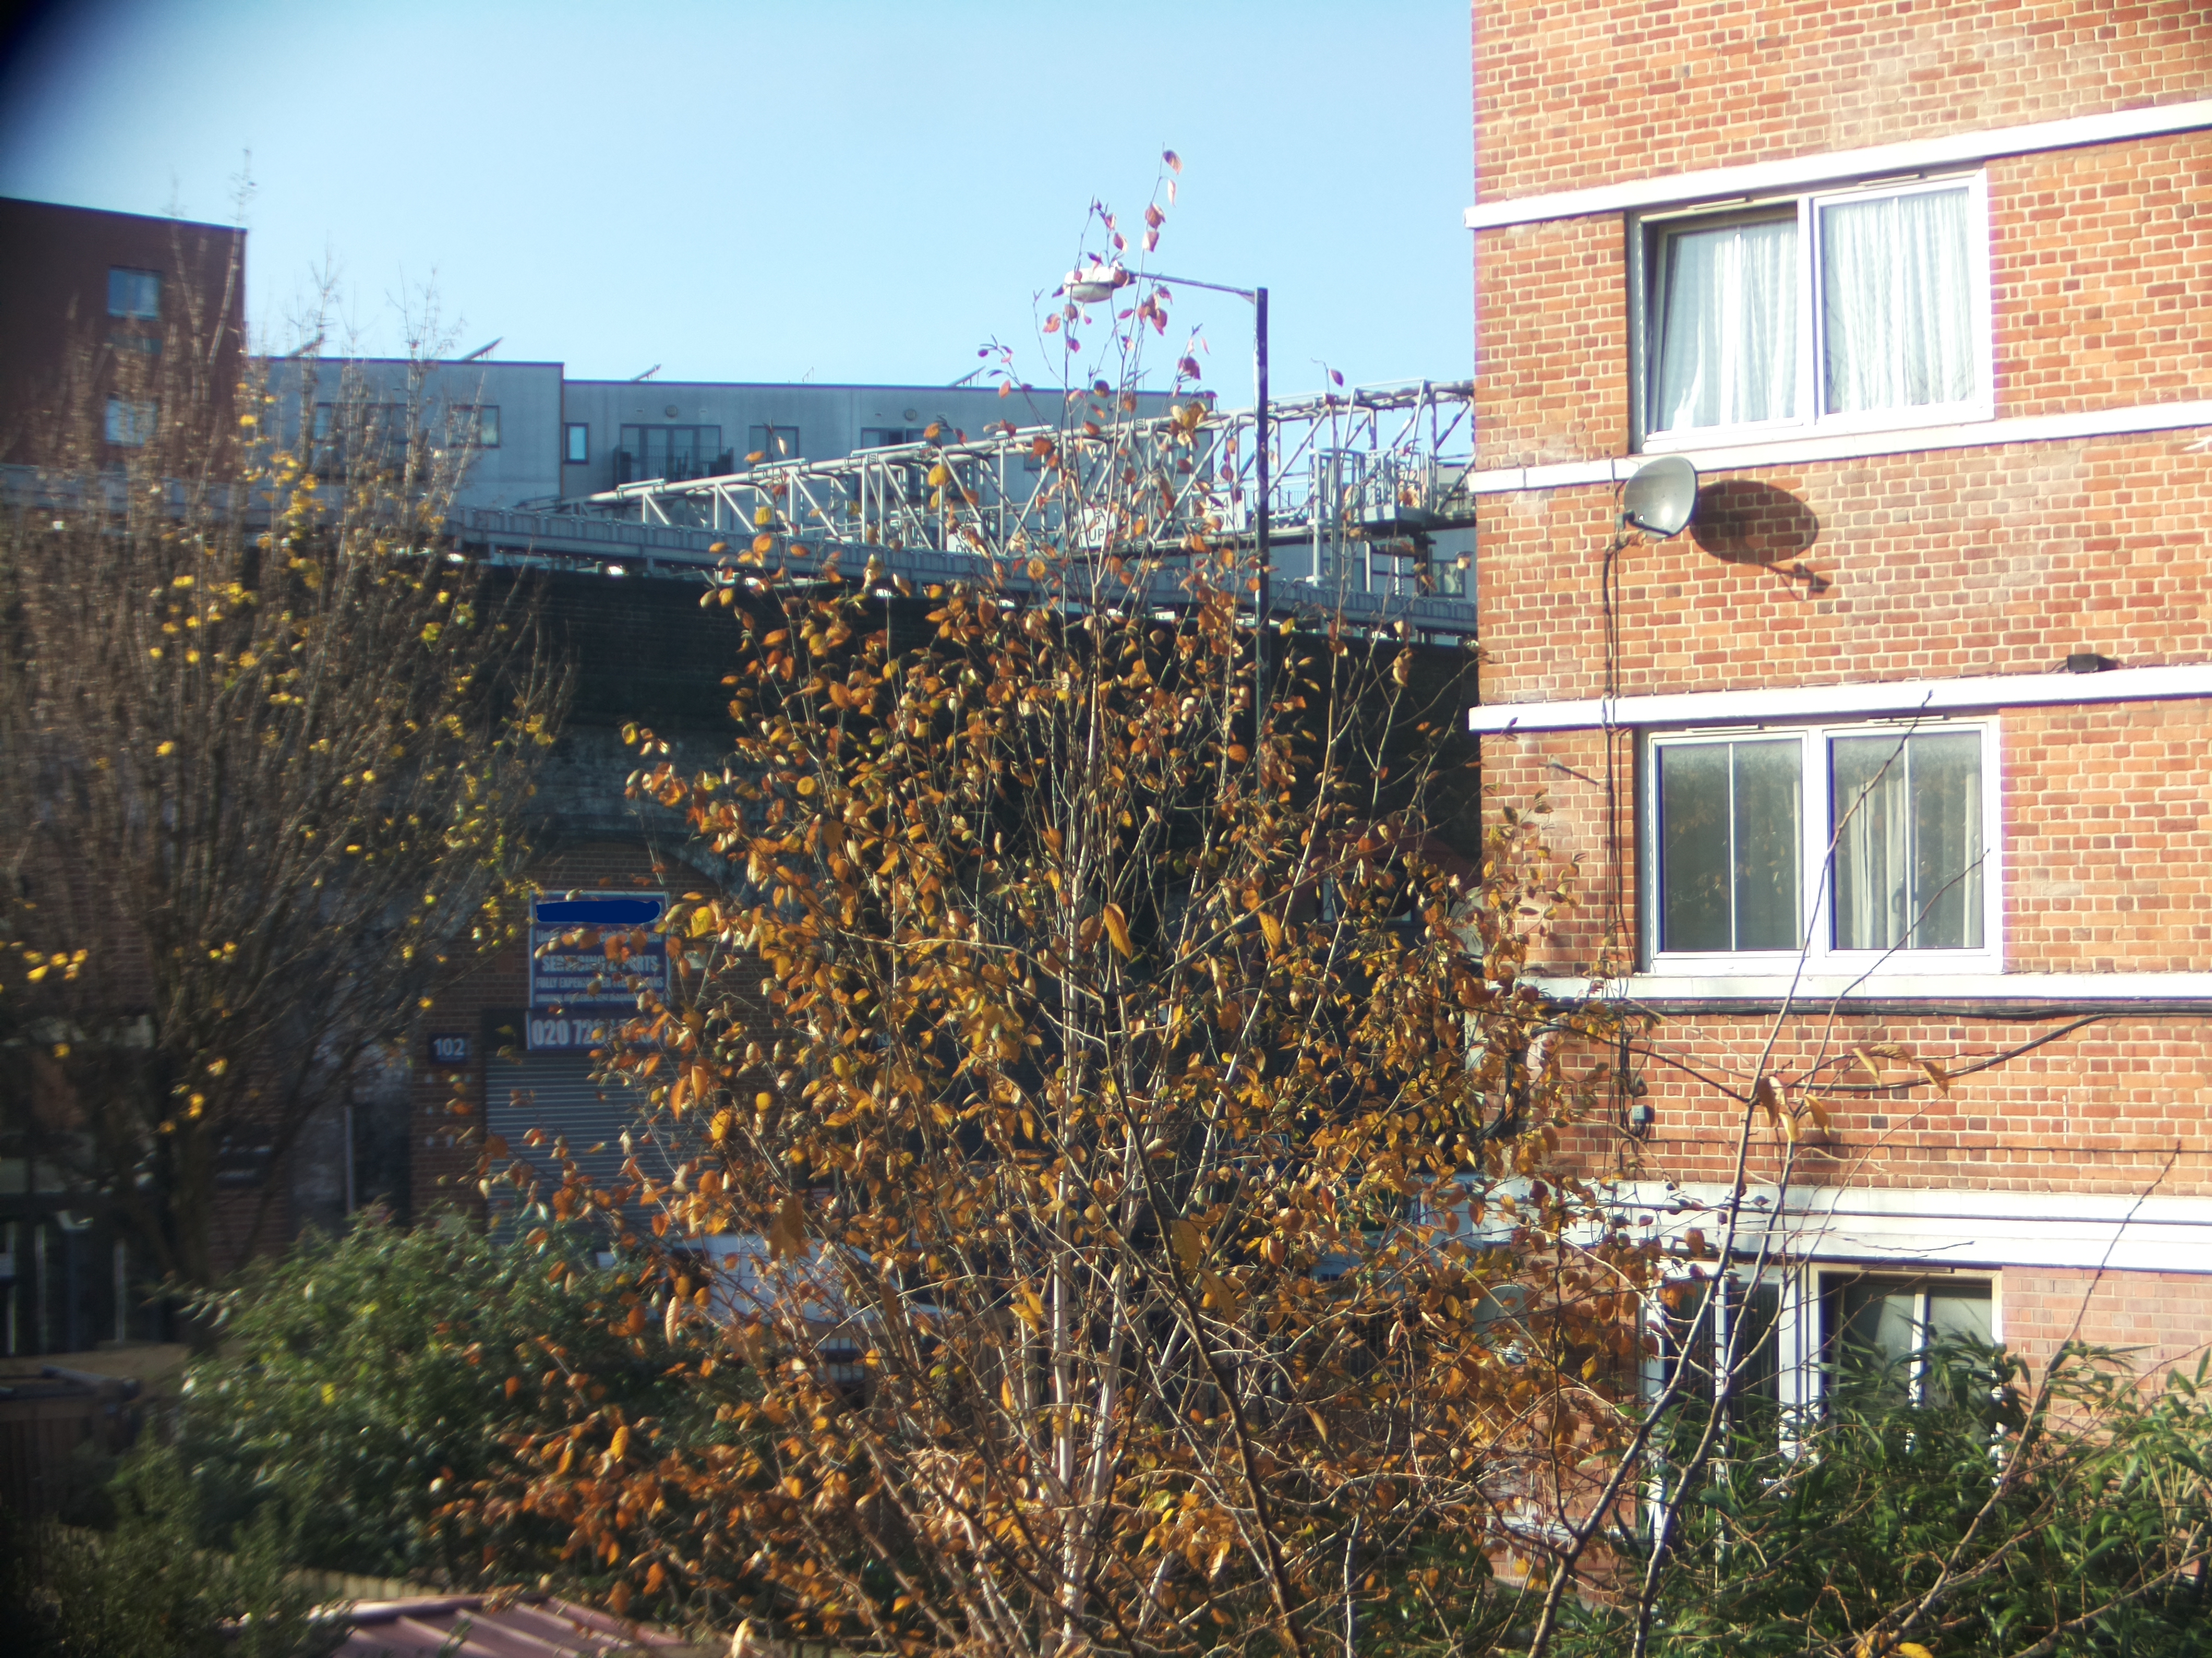
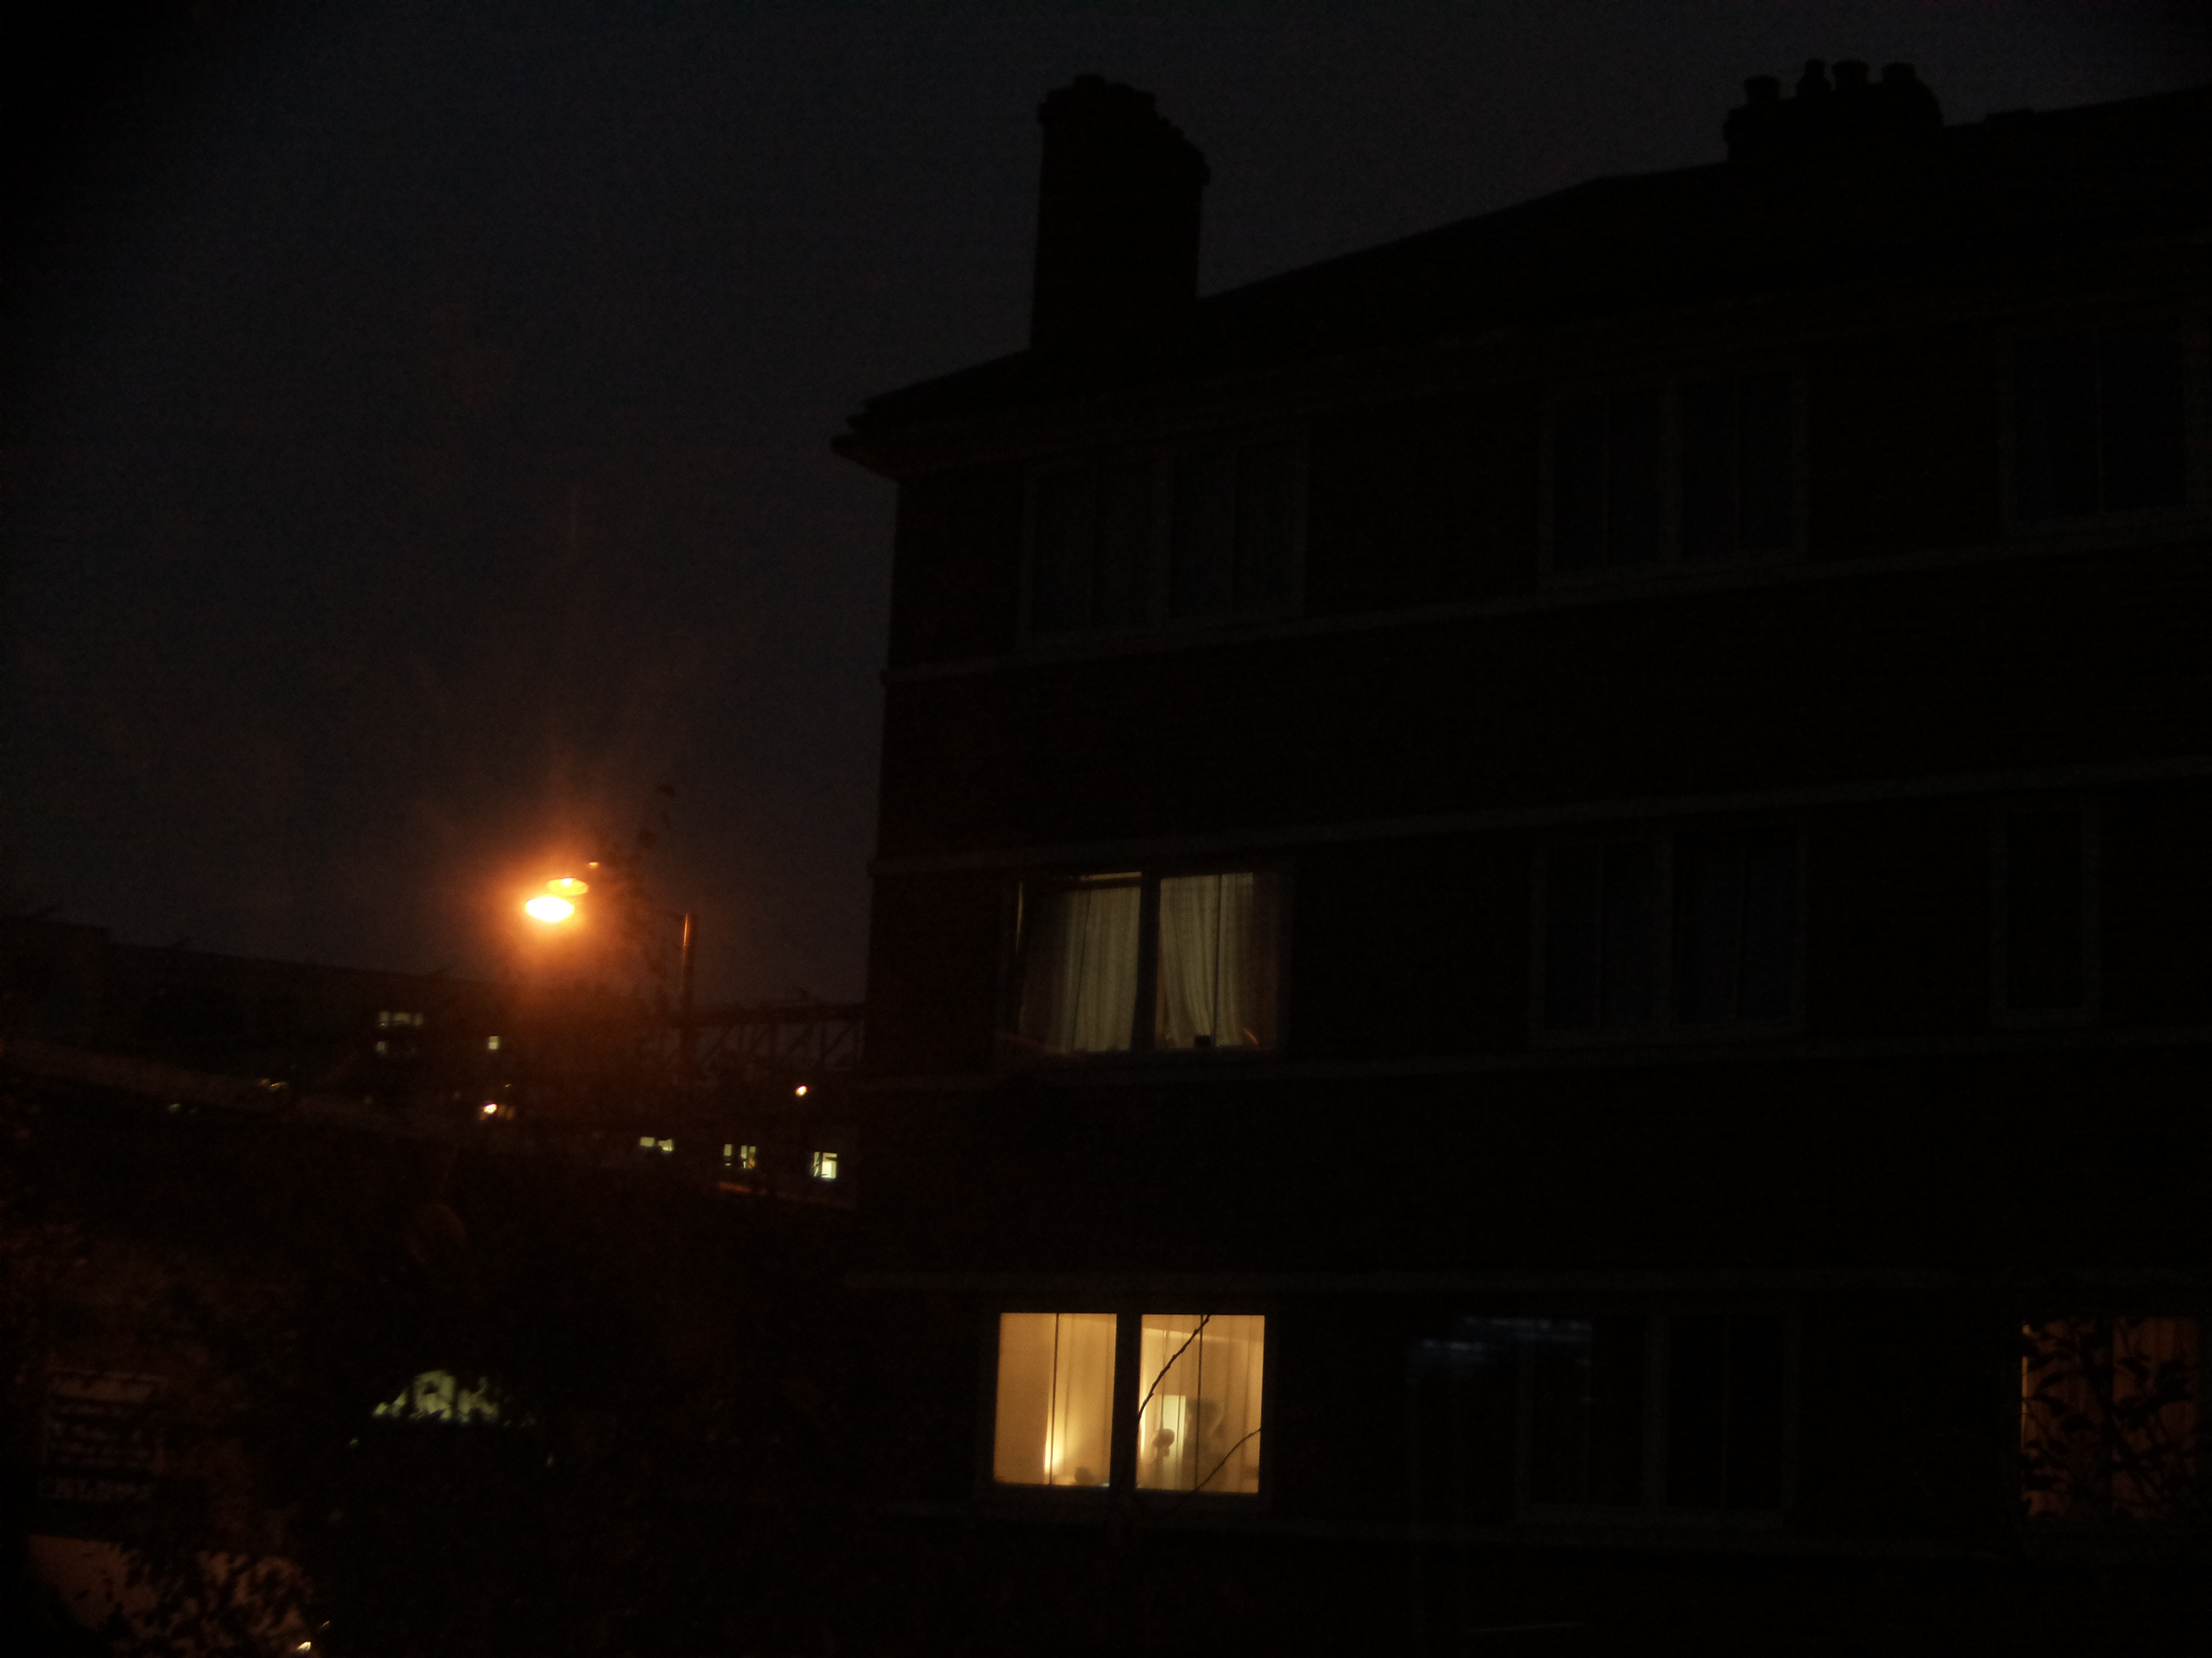
Sample Images
Here's a couple of test stills that I took with my current lens set roughly around 10-12mm. I'll update the post with some more as soon as I receive the fixed 6mm wide lens.
Day light:
Low light, night shoot:
Gif, made by doing a screen-rec of the cam streaming over tcp, thanks to mjpg-streamer
Extras
Tripod
Since I started this project on a Saturday and I wanted to take some timelapses with it but everything is closed (yay for lockdown!).. I jumped back into Fusion360 and I designed a very basic tripod that makes use of the 1/4" screw hole.You can find the STL files on Thingiverse: https://www.thingiverse.com/thing:4654249
I'm not gonna lie, designing a tripod isn't as easy as I originally thought!