If you have a question about a post, feel free to reach out!

Digital meets real: 3D Printing

As soon as I started to fiddle around with Processing and Openframeworks back in 2013, I immediately felt the incredible power that their generative approach could offer. The amount of control, the expressivity and the variation of artworks that could be potentially generated felt really overwhelming! But one the most important things that you surely have already witnessed in your creative practice is that having (virtually) no limits can have a huge impact on the quality of your works. Sometimes a constrain or a technical limit are the best way to get inspired!

So, as digital people working with digital tools, how can we introduce some of these healty limits?

Read more  ↩︎

Automatic Watering System with Arduino

During my stay in the UK to attend the MA at Goldsmiths, I bought two small plants to keep myself company. Surprisingly enough, they names were Mint and Thyme. But I had one major issue: when I had to come back to Italy for a little break, I had nobody that could water the plants for me.

Arduino to the rescue!

Thanks to Eevi's project, I knew that I could use a water pump with arduino, so I started looking for more tutorials on the topic. Turns out it's a fairly straightforward thing to do, and it can also be quite cheap if you manage to recycle an old motor and 3d print the actual peristaltic pump.

Bill of materials

If you already have an Arduino and some cables, we're talking of about 20€ in total.

  1. Peristaltic pump: Peristaltic Pump, Yosoo
  2. PVC Pipe, 4mm diameter: 4mm ID x 6mm OD Clear PVC Tubing Pipe Hose
  3. Arduino Uno
  4. 1 Channel Relay, like this one
  5. Jumper cables
  6. For a cleaner result, terminal sockets like these

Getting the pump to work

In my case, getting the peristaltic pump to work required a bit of "hacking". Nothing too complex, but when I tested the pump plugged to the 12V power supply and connected to two glasses of water, I saw that something was not working fine. I could hear the motor shaft spinning, but the water was not flowing into the tubes. So after watching a few videos and getting to understand how the actual pump worked, I disassembled it and I noticed that the three inner rollers were not rotating with the motor. So I rearranged their position in a narrower way - I pushed them further against the motor shaft so that its rotation would transfer to them.

Schematics

Code

(see the original gist [here](https://gist.github.com/vvzen/afd14c138096d49fc47edfa89afce588) if indention seems off)

Working setup

As you can see from the photo, I'm also using heat shrink tubing (black) together with the PVC tube (transparent). For some reason, probably due to the not so great quality of the pump, it was not sucking enough water just using the 4mm tube, so I had to put a little bit of heat shrink tubing to bridge the pump to the PVC.

Physical Computing Works

This page hosts a series of links to the physical computing projects developed during my MA in Computational Arts at Goldsmiths University.

  1. All of the projects in my tumblr

  2. Playing with e-textiles

    E-textiles buttons

  3. Hacklab Project 1

  4. A tiny project - using the ATTINY85 microcontroller

  5. Arduino Joystick controller

  6. Final project for Term 1 - SASM

  7. Final project for Term 2 - #TwitterHead

Personal Projects

  1. Arduino Plants Watering System

Computational Art Researches

This page hosts a series of links to the researches developed during my MA in Computational Arts at Goldsmiths University.

Second Term

  1. Week 1: Computational Art and Walkthroughs

    Actor Network Theory

    Walkthrough method

    App research: White Spots

  2. Week 2: Computational Art and Material Stories

  3. Week 3: Computational Art and Witnessing

  4. Week 5: Machines Seeing

  5. Week 6: Structuring Your Research Project - Additional research on Floridi's phylosophy

  6. Week 7: Computational Art and Sensory Interactions

Final multimedia report

A tiny attiny project

For the second term of my physical computing class, we had to create a small project using the ATTINY microcontroller!

In order to keep things simple, I decided to build a small circuit that lights up an LED when someone is moving thanks to a Passive Infrared Sensor. Next step would to trigger a relay so that for example I could have a light turn on just when I'm close to it!

As always, I started by using the Arduino as the power source and the programmer of the ATTINY controller. To do this, we followed a nice tutorial available here: http://highlowtech.org/?p=1695
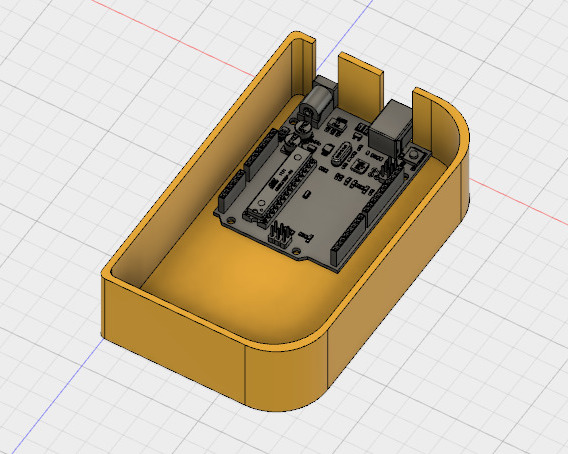
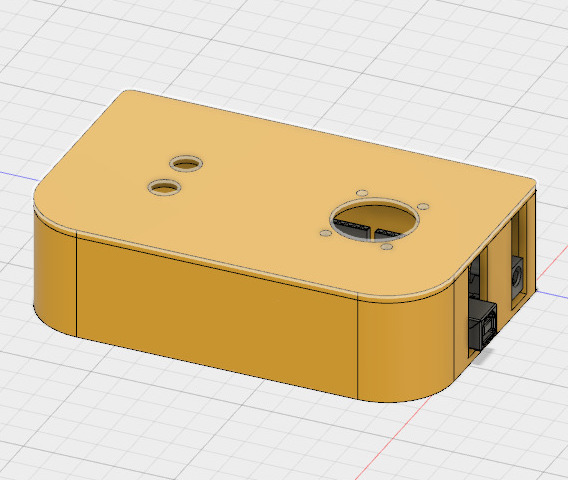
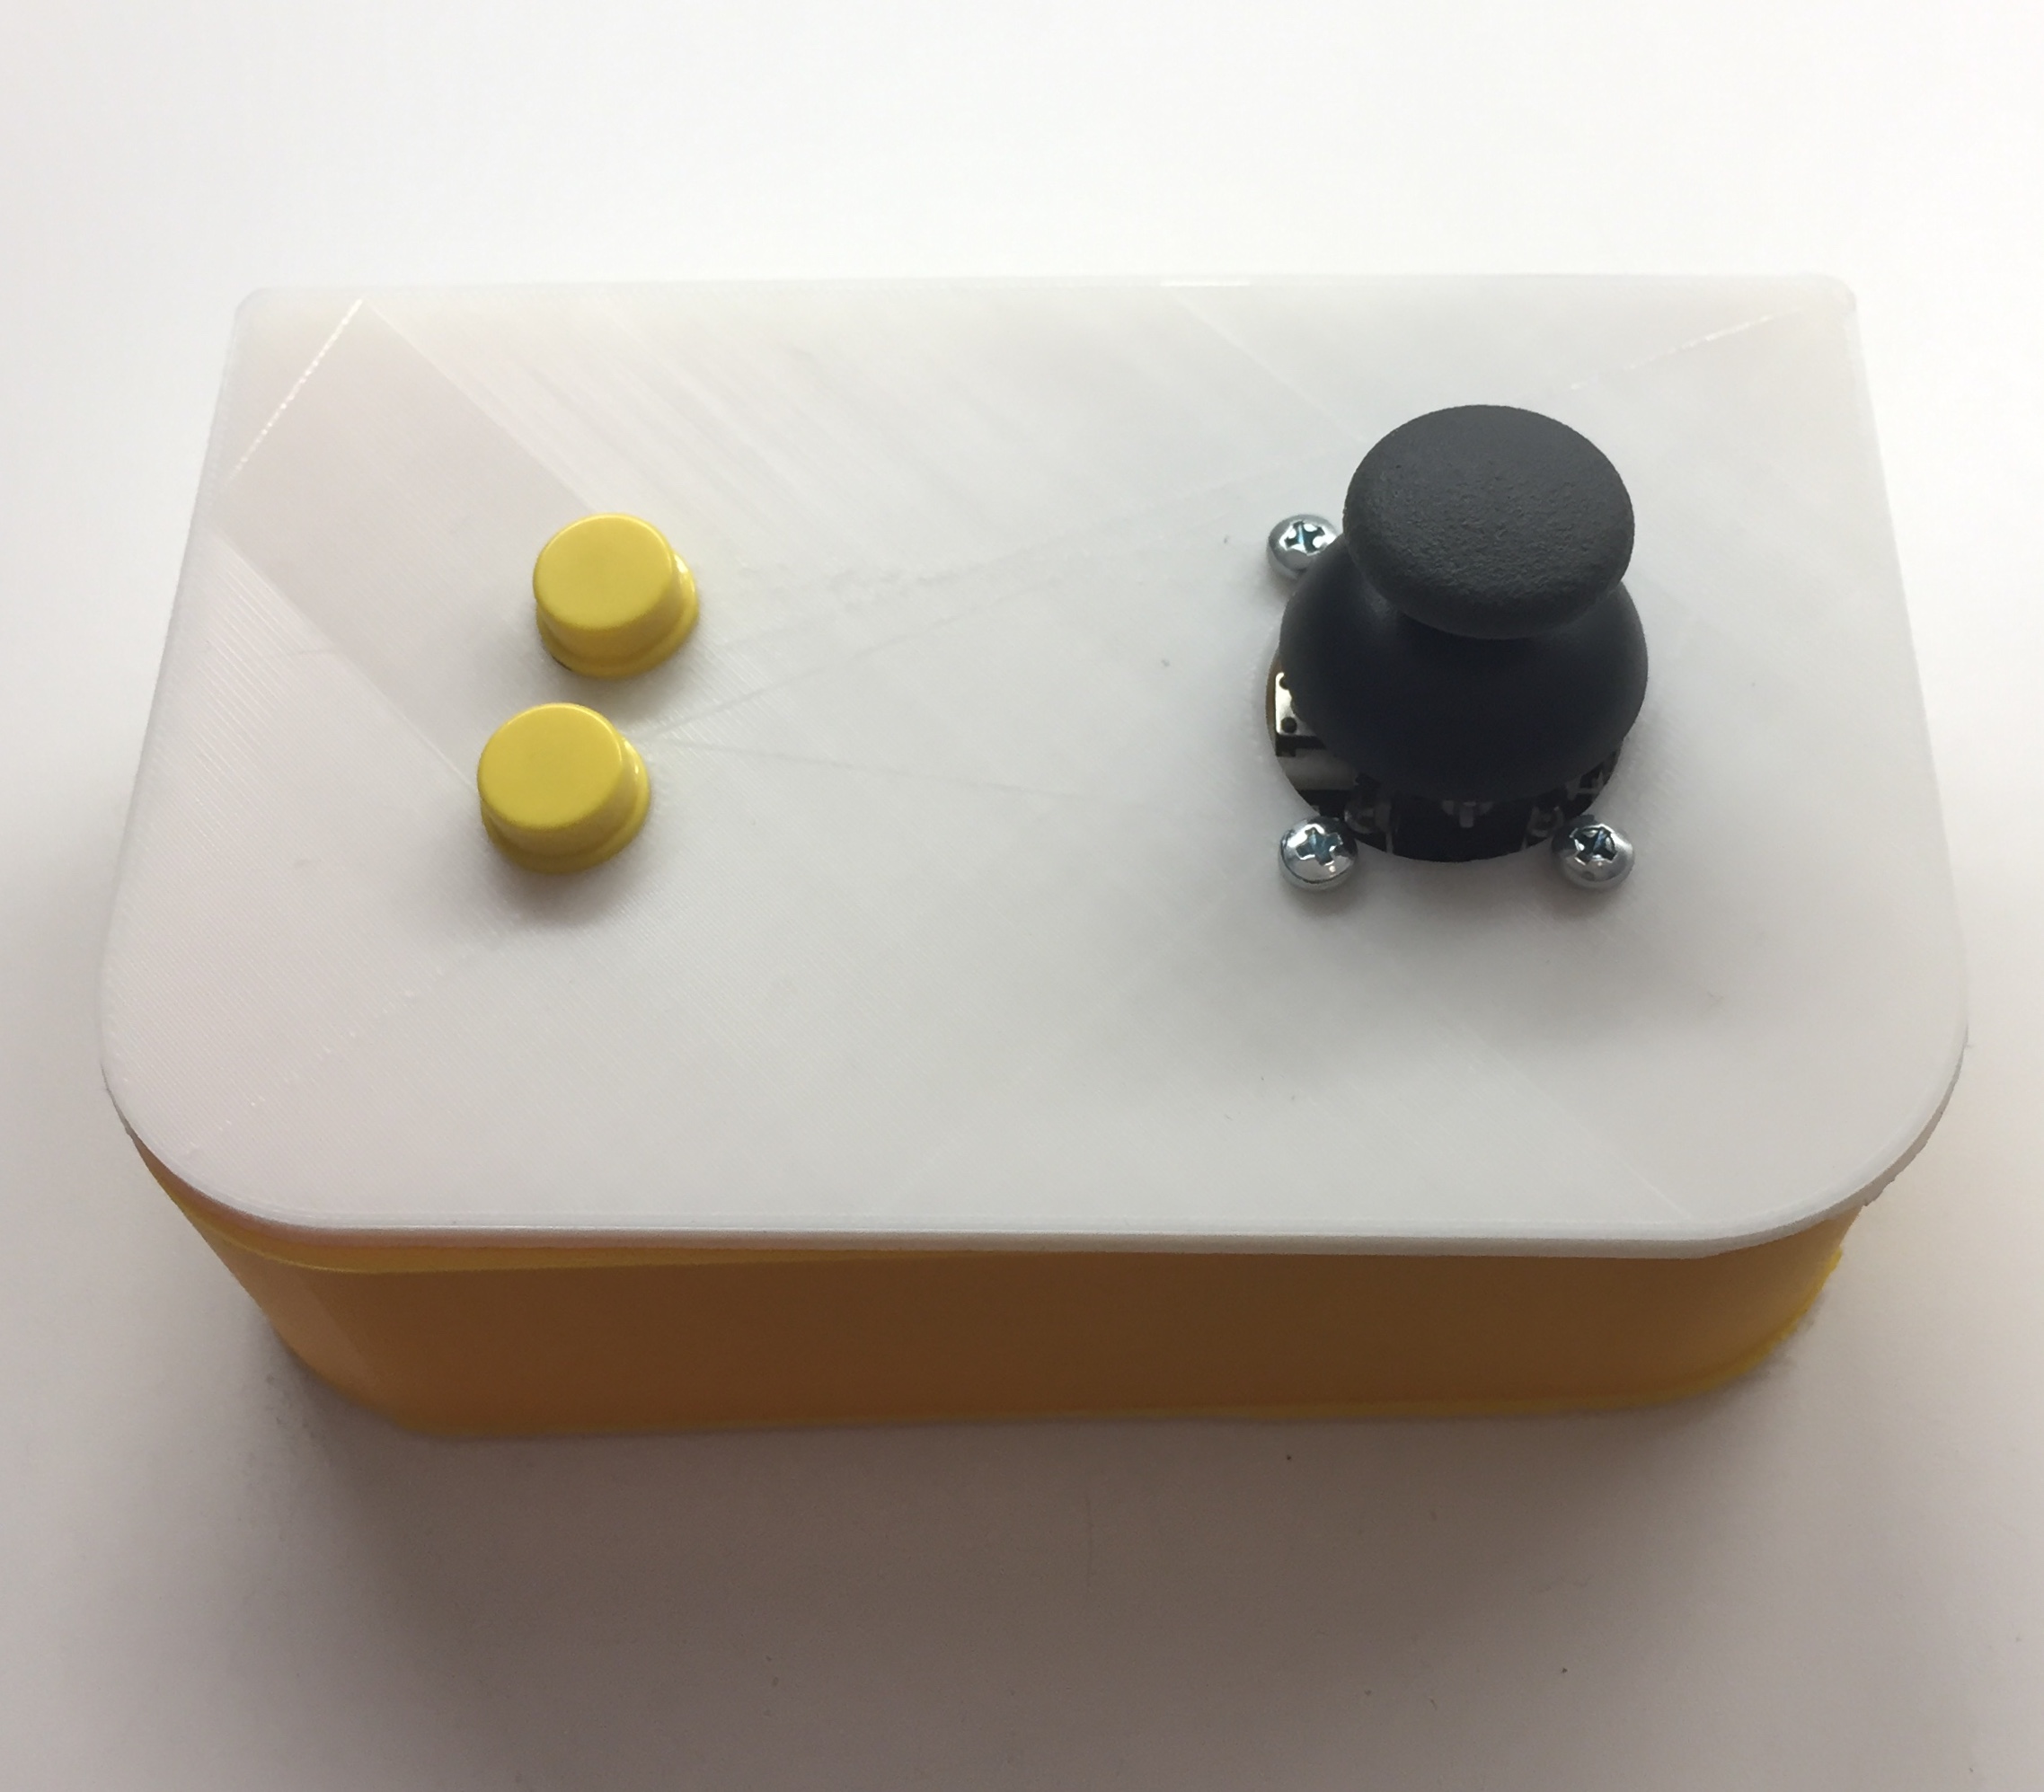
Prototyping

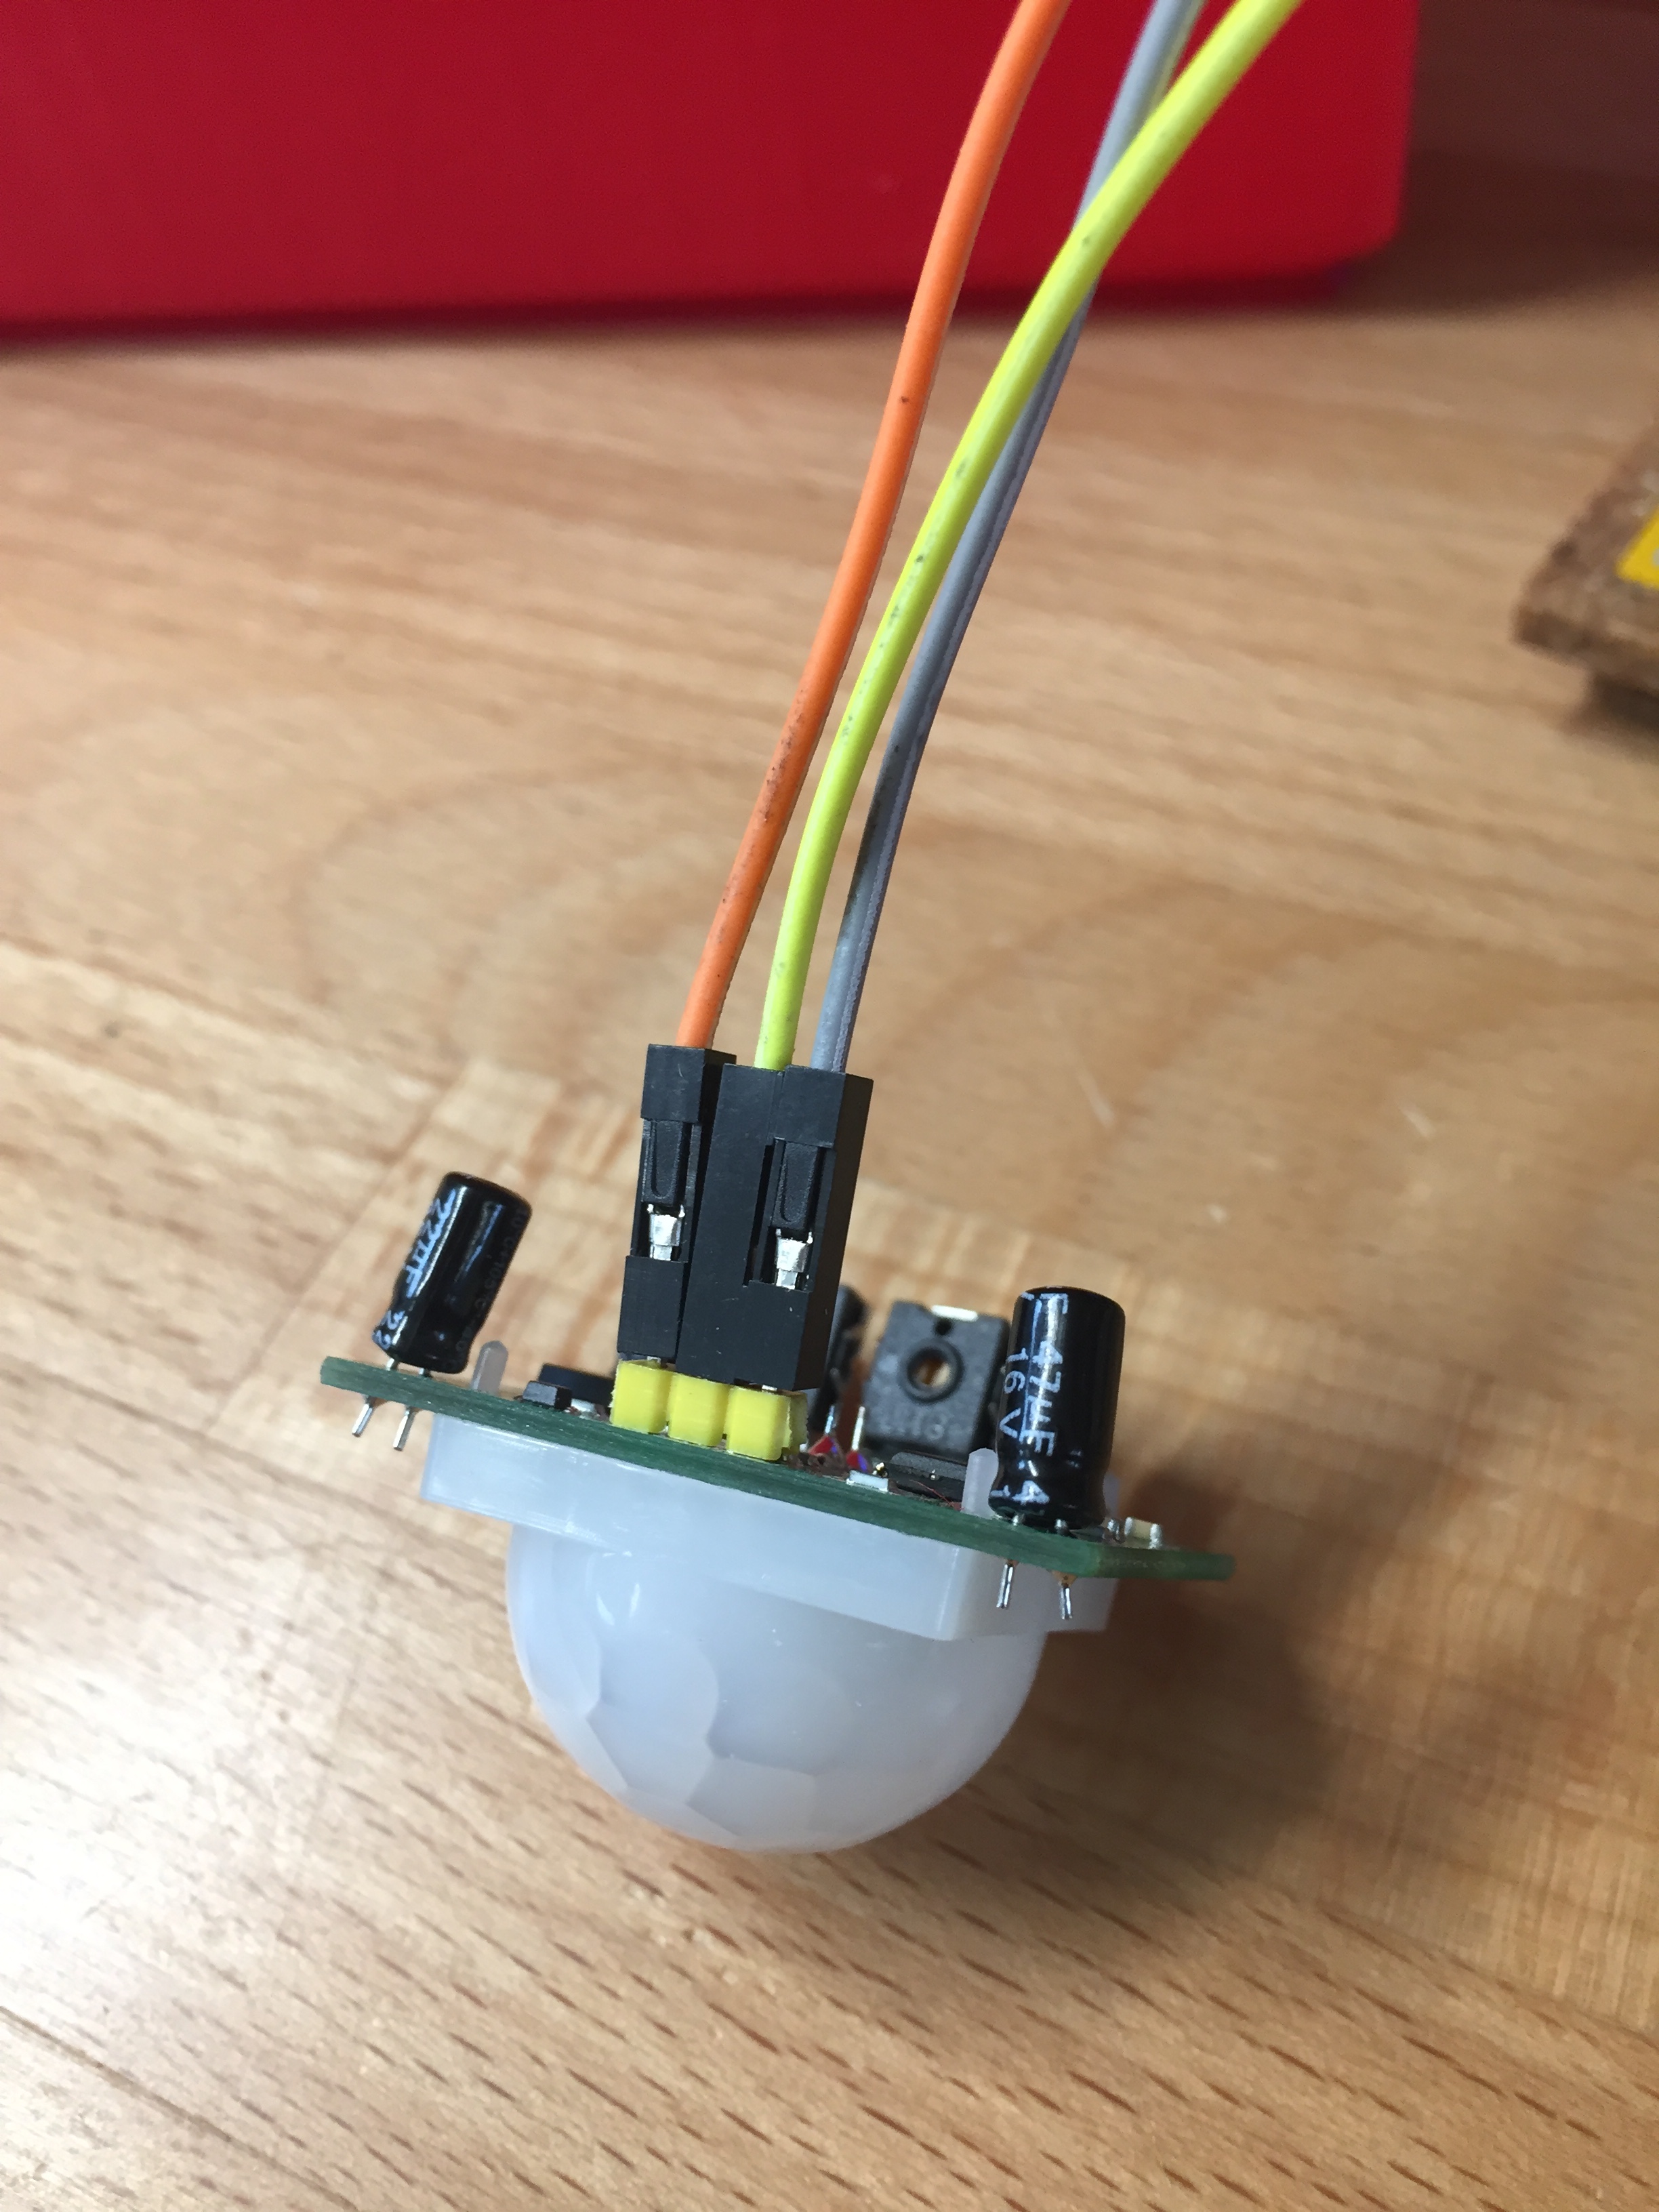
The PIR sensor used.
It just needs 5V, GND and the actual pin where it will send 5V if it gets triggered

Read more  ↩︎

Arduino joystick controller

For the second term of my workshops in creative coding class, I realized an installation where, among other things, the audience could explore a map of tweets using a joystick controller.

I worked very hard on the software part, which was made in openframeworks and nodejs, and just one day before the popup I quickly printed, soldered and assembled the final box hosting the arduino, the joystick controller and the two buttons (to zoom in, out).

Run, don't walk!

Due to the simplicity of the connections, I didn't make any schematics. Instead, I just hacked together everything as quickly as I could! :D

Here are some screengrabs from Fusion 360, where I modeled the enclosure:

Fast and dirty render from Fusion

And some pics of the final assembled and printed piece:

The two yellow buttons are used to zoom-in or out

The joystick exits with 5 cables, GND, VCC, x and y axis and the joystick pressed pin

👨🏻‍💻 Personal Dev Setup (openFrameworks XCode..)

Tons of things have happened in the last months.. The most important one being that I'm currently in London doing an MA in Computational Arts!

Maybe I'll write an article about it, but as for now you can just have a sneak peek here: http://doc.gold.ac.uk/compartsblog/index.php/work/popup2018/

No, let's get back into topic. It has been some time since I started programming, and I changed my workflow and IDEs many times, adapting to different fields.. web development, python, realtime stuff with openframeworks..

Read more  ↩︎

Through the Streets of Rome

È passato ormai quasi un anno da quando ho iniziato ad interessarmi concretamente al mondo della Data Visualization, seguendo un breve corso alla RUFA intitolato Open and Big Data Visualization: L’estetica dei flussi.

Da quel corso di 8 lezioni ne è poi uscito fuori un piccolo spunto per il mio progetto finale, “I trasporti”, che ho iniziato a portare con me anche dopo la presentazione finale del corso. Sono un pendolare praticamente fin da quando ho finito il liceo e ho sempre preferito il trasporto pubblico a quello privato. Non per chissà quale vezzo “comunitario”, ma semplicemente perché viaggiare sui mezzi mi ha sempre dato la possibilità di ottimizzare il mio tempo: leggendo, studiando – spesso lavorando – durante quei piccoli intermezzi tra un pit stop e l’altro. Il progetto che presento qui è frutto proprio di questo: 1 anno di lavoro inframmezzato, spezzato, realizzato a tratti tra mille gadget tecnologici diversi (laptop, tablet, smartphone, carta e penna..) tra mille lavori diversi, sul caro Freccia Nera Velletri – Roma. Nasceva come visualizzazione interattiva orientata al web (D3js), più focalizzata sulla tecnica che su altro. Poi si è evoluto con me, dopo che ho iniziato a conoscere sempre di più il mondo del design generativo, fino ad approdare su un software totalmente diverso: Houdini. Così è fuggita via l’interattività a favore di una maggiore libertà durante il processo creativo. Ne è cambiata anche la finalità: un lavoro un po’ più improntato sull’informare e comunicare piuttosto che sul trasmettere.

Read more  ↩︎

Importing Kinect's point clouds in Houdini

Hi guys!

Just to let you know, this year we’re facing an extremely hot summer here in Italy (50 degrees in some cities!), so as you would image sitting all day in front of a screen is getting quite challenging.. nonetheless, I’m still too excited about learning Houdini to stop my researches! This time I picked up an old time classic from the interactive world, the Kinect , and I wanted to push it a little forward. I wanted to import point cloud animations into Houdini, and manipulate them in all the magical ways that this software lets us do.

Exporting .ply from Openframeworks

As a first step, you need to create the point cloud animation by recording the kinect data.

I’m using OpenFrameworks in order to connect with the Kinect and export a binary .ply file for each frame received.

On my github repo you’ll find the code, which is very easy and mostly grabbed online and from the examples of the official library. A .ply file contains a header and a list of x,y,z position for each point. The header structure can be seen from https://en.wikipedia.org/wiki/PLY_(file_format) and the list of points in our case was supplied as stream of bytes (see https://stackoverflow.com/questions/20400128/how-to-write-a-file-byte-by-byte-using-c)).

Read more  ↩︎

Using openframeworks without XCode

It’s been quite a long time since I’ve been using Atom for developing nodejs apps, but a few months ago I’ve decided to migrate to Visual Studio Code, and I must say that I don’t regret this decision. Code is faster, has a tons of extensions and great support for many different languages.

Last but not least, typing code . in terminal in order to open Code in the current directory is really cool. 😁

So when I came back to openframeworks and all its XCode thing I felt a little overwhelmed, as if there were too many things before me and the code that I was writing. XCode is a very powerful IDE, but sometimes you need the comfort of something a little lighter.. which brings us back to the title:

Using openframeworks without XCode

It’s really easier than you may think, since OF supports make files on macOs!

I have to thanks a random sfpc repository I found which documented the process of using Sublime Text instead of XCode (I’ve lost the correct link, it’s somewhere in their github).

Here’s my gist showing how to do it with Visual Studio Code (but really, you should be able to reproduce the steps in most text editors).

This first file is an example of a c_cpp_properties.json file and below it you’ll find all the instructions.